Beginner’s guide to installing a wood gym floor system
In any kind of athletic facility, the installation of a wood gym floor system may be a challenging but yet gratifying undertaking. The purpose of this detailed guide is to take you through the crucial phases, beginning with the planning stage and ending with the finishing touches, so that you can ensure that your new wood gym floor satisfies the highest standards of both performance and aesthetics.

Initial Planning and Material Requirements
Before diving into the installation process, careful planning is crucial to ensure a successful outcome for your wood gym floor project. Here's what you need to consider:
Examining the Space That You Require
Taking precise measurements of your gymnasium should be your first order of business. Any distinguishing features, such as entrances, built-in objects, or unequal room designs, should be taken into account. It is essential to do so. This knowledge will be pretty useful, and may even be considered crucial, when it comes to the process of creating the pattern of your wood gym floor and purchasing the necessary materials.
What to Look for When Selecting the Right Wood

It is recommended that you choose a species of wood that finds a happy medium between the qualities of durability, performance, and aesthetic appeal. However, oak, birch, and beech are other wonderful options that may be taken into consideration. Maple is a popular alternative due to the fact that it is long-lasting and has a light tint. The level of use that your floor will be able to sustain, as well as the overall look that you want to create, are both crucial elements that you should take into mind.
Determine the Quantities of the Materials via Calculation
Your measurements will allow you to calculate the amount of flooring material that is necessary depending on the measurements that you have taken. Including a five to ten percent overage in your budget is a good idea since it allows you to account for reductions, waste, and any errors. It is essential to keep in mind that additional materials, such as moisture barriers, components for subflooring, and finishing items, should be taken into consideration.
Gathering Necessary Tools
Ensure you have all the required tools on hand. This typically includes:
- Circular saw and table saw
- Nail gun and compressor
- Moisture meter
- Trowels for adhesive application
- Sanding equipment
- Personal protective gear
Understanding Building Codes and Regulations
Familiarize yourself with local building codes and regulations pertaining to gym floor installations. This may include requirements for fire resistance, accessibility, and structural considerations.
Subfloor Preparation and Moisture Protection
Before installing a wood gym floor, it is essential to ensure that the subfloor has been properly prepared. It is at this phase that the basis for the whole system is established.
Assessing and Getting Ready for the Subfloor That Is Already There
Conduct a thorough inspection of the current subfloor to identify any signs of deterioration, unevenness, or moisture problems. Please make sure that the surface is clean and level, and repair any cracks or blemishes that may be present. Utilize a self-leveling compound in the event that it is required in order to accomplish a smooth basis.
Putting in place a barrier against moisture
When it comes to a wood gym floor, moisture is one of the most significant dangers. Installation of a moisture barrier of superior quality is recommended in order to prevent against the possibility of water damage caused by the subfloor. Laying down a layer of polyethylene and making sure that all of the seams are securely sealed is normally required for this.
The Establishment of a Vapor Barrier
The presence of a vapor barrier, in addition to the moisture barrier, is beneficial in preventing moisture from rising through the concrete slab. Pay close attention to the coverage rates and curing durations while applying a liquid-applied vapor barrier solution in accordance with the recommendations provided by the manufacturer.
The process of installing the subfloor system

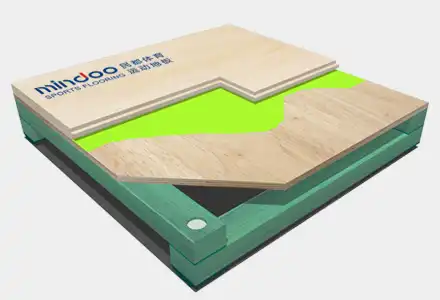
To increase overall performance and offer cushioning, several wood gym floor systems include a subfloor into their design. Depending on the circumstances, this may need the installation of layers of plywood or specialized rubber cushions. By adhering to the precise specifications of the floor system you have selected, you can ensure that the appropriate spacing and ways for attaching are used.
Assembly and Fixing Techniques
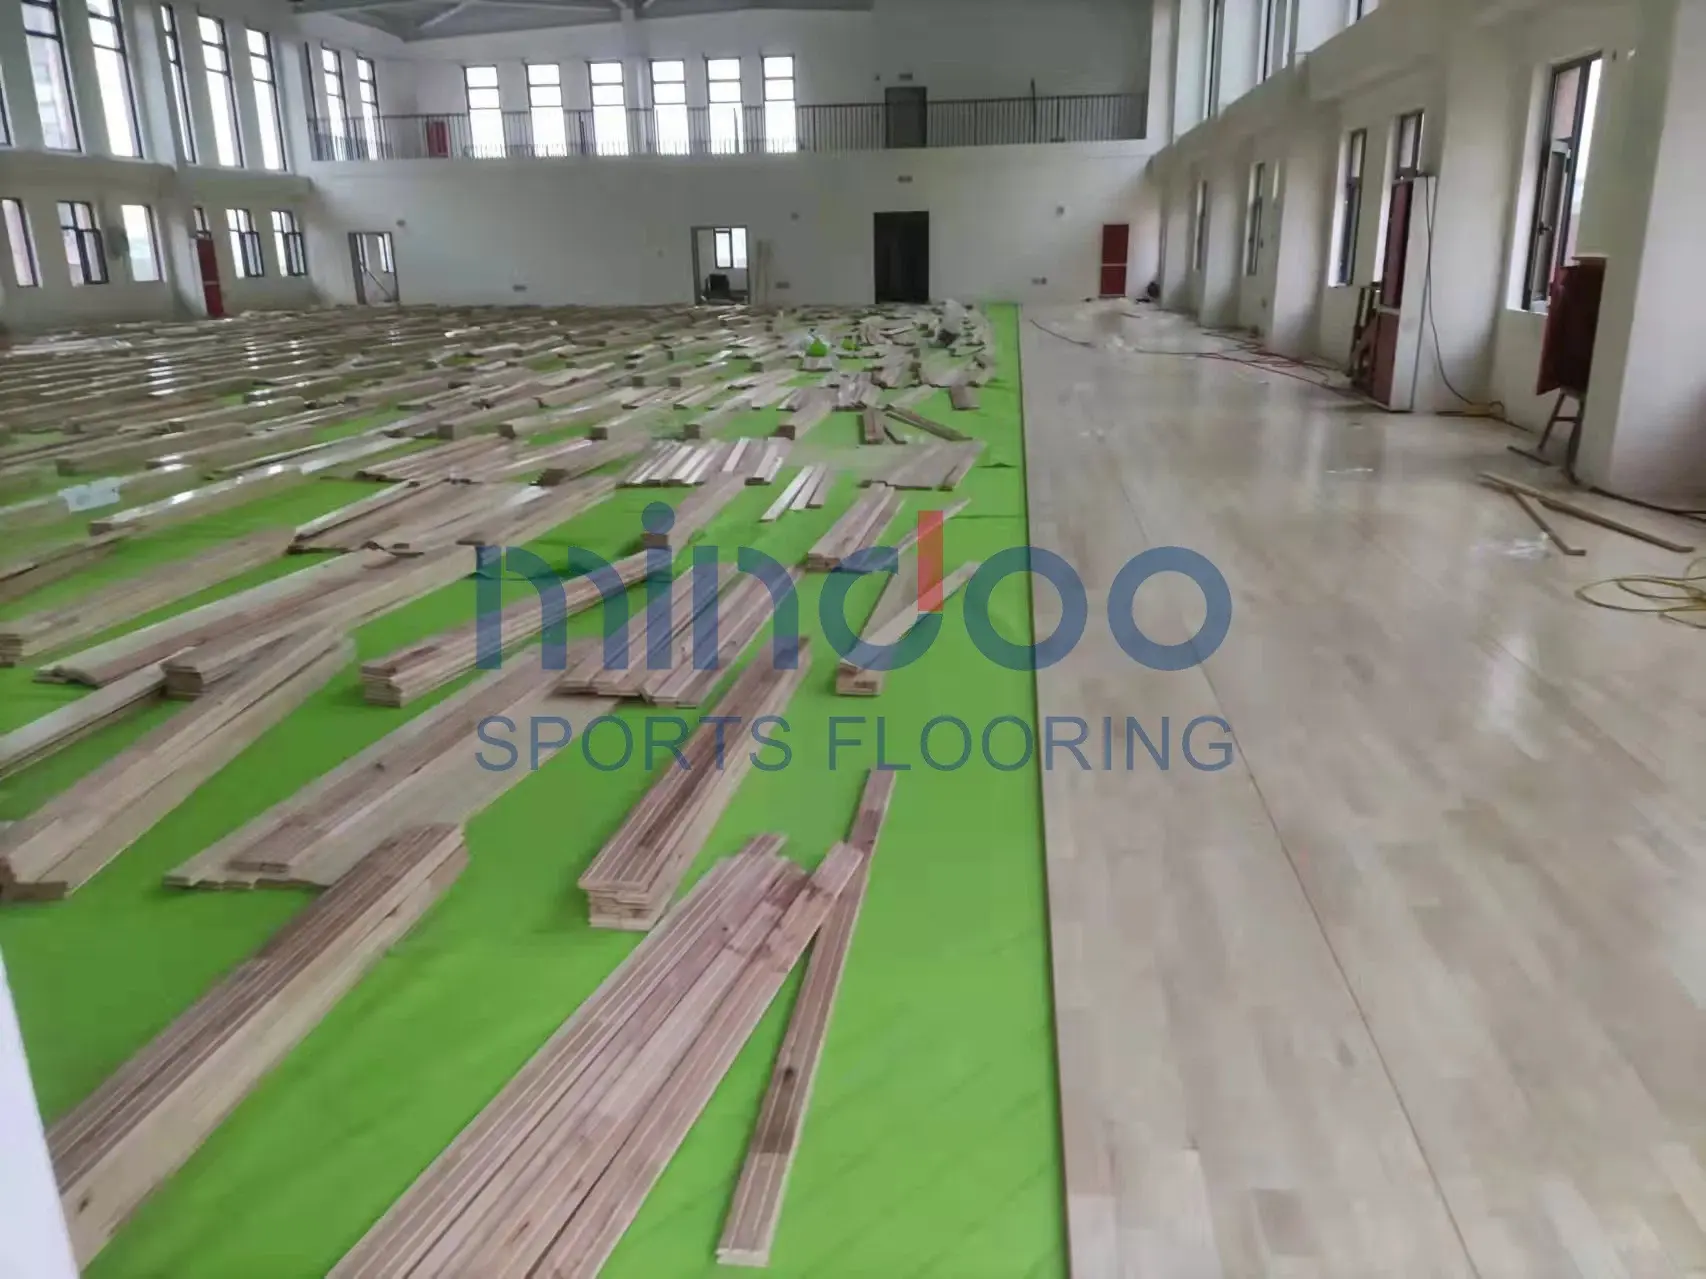
Now that the subfloor has been prepped, it is time to start on the actual installation of the wood flooring. For the purpose of producing a surface that is consistent and high-performing, this technique calls for accuracy and careful attention to detail.
When the Wood is Acclimatized
A minimum of three days should pass before the installation of the wood flooring materials in the gym so that they may get used to the surroundings. The prevention of future expansion or contraction problems is facilitated by this.
Positioning and the Beginning Line
For the purpose of ensuring that the flooring will be square with the room, a beginning line should be established. Most of the time, this entails locating the center of the space and moving outwards from there. Lines drawn with chalk may be used to indicate where you will begin and to direct future rows.
Using Techniques Such as Nails or Glue
To secure the flooring in place, you will either use nails or glue, depending on the method that you have selected. As a means of securing each board in nail-down systems, a pneumatic flooring nailer should be used. When using an adhesive approach, be sure to apply the glue in an equal manner and carefully put the boards, making sure to ensure that the seams are tight.
Surface Protection Application
In order to safeguard the wood and improve its performance qualities, it is necessary to apply the appropriate finishing once the flooring has been laid.
Putting Sand on the Floor
It is necessary to sand the whole floor surface in order to get a smooth and equal finish. This is commonly accomplished by making numerous passes with sandpaper that has increasingly finer grit ratings. You need to make sure that all dust is completely eliminated in between sandings.
Applying Finishes and Sealants to the Surface
A sealer of superior quality should be applied to the wood in order to preserve it from moisture and abrasion. A sports-specific finish, which will offer the appropriate amount of grip and shine for athletic activity, should then be applied in many coats after this step.
Decoration of the Game Line
According to the official standards, you should precisely measure and mark game lines if your gym demands them. Make sure to use paints of a good quality and compatibility, and allow sufficient time for drying in between layers.
Common Installation Challenges and Solutions
Some problems might come up during the installation process, even if you plan ahead carefully. It's easy to deal with these typical problems:
The Problem of Uneven Subfloors
There may be times when you need to use shims or more leveling powder to keep the surface flat after you've started installing something. Parts of the subfloor may need to be rebuilt in the worst cases.
Handling Gaps in Expansion
Due to changes in air, wood naturally grows and shrinks. Along the edges of the floor and around any set items, make sure you leave enough space for growth. After the door is installed, molding can be used to cover these holes.
Troubleshooting Moisture Problems
Stop the assembly process and fix the source of the wetness if you find that the moisture levels are higher than expected. To do this, you might need to add more moisture protection measures, fix leaks, or make the airflow better.
Conclusion
Installing a wood gym floor system is a significant undertaking that requires careful planning, attention to detail, and a commitment to quality. By following this beginner's guide, you'll be well-prepared to tackle the challenges and create a beautiful, high-performance surface that will serve athletes for years to come. Remember that while this guide provides a solid foundation, every project is unique. Don't hesitate to consult with professionals or the flooring manufacturer for specific advice tailored to your situation.
FAQ
1. About how long does it take to put in a wood gym floor?
The time it takes to build can be very different based on how big the gym is and how hard the job is. For a standard-sized gym, a full installation that includes preparing the base and finishing can take between 2 and 4 weeks on average.
2. How often should I clean and care for a wood gym floor?
Every day dust mopping, cleaning with a special wood floor cleaner every so often, and re-coating the finish once a year are all part of regular care. It's possible that the floor needs to be cleaned and polished every couple of years to keep looking good and working well.
3. Can a wood gym floor be put down on top of a concrete floor?
It is possible to put down a wood gym floor over concrete, but it's very important to protect the concrete from water and prepare the ground properly. Before the work can start, the concrete must be fully checked for wetness and given the right sealers and shields.
Transform Your Gym with Mindoo's Premium Wood Gym Floors
Prepared to take your athletic facility to the next level by installing a high-quality wood gym floor? There is no need to look any farther than Mindoo, the reliable wood gym floor manufacturer. The flooring solutions that our skilled team provides are unparalleled because they are the result of years of knowledge combined with cutting-edge technology. We guarantee outstanding quality control and affordable pricing across the whole system, from our own plant to your fitness center. Choose Mindoo for a floor that performs as spectacularly as the athletes that play on it, and don't settle for anything less than the best performance. Get in touch with us at sales@mindoofloor.com right now to get your idea off the ground!
References
- Johnson, A. (2022). "The Complete Guide to Wood Gym Floor Installation." Sports Facility Management Journal, 18(3), 45-62.
- Smith, R. & Brown, T. (2021). "Moisture Control in Athletic Flooring Systems." Building Materials Review, 29(2), 112-128.
- Williams, C. (2023). "Performance Characteristics of Hardwood Sports Floors." International Journal of Sports Engineering, 12(1), 78-95.
- Anderson, L. (2022). "Best Practices for Subfloor Preparation in Gymnasium Construction." Construction Technology Today, 7(4), 201-215.
- Thompson, E. (2021). "Long-term Maintenance Strategies for Wood Athletic Floors." Facility Management Quarterly, 33(2), 55-70.
- Davis, M. & Wilson, K. (2023). "Environmental Considerations in Sports Flooring Selection." Sustainable Building Design, 14(3), 180-195.