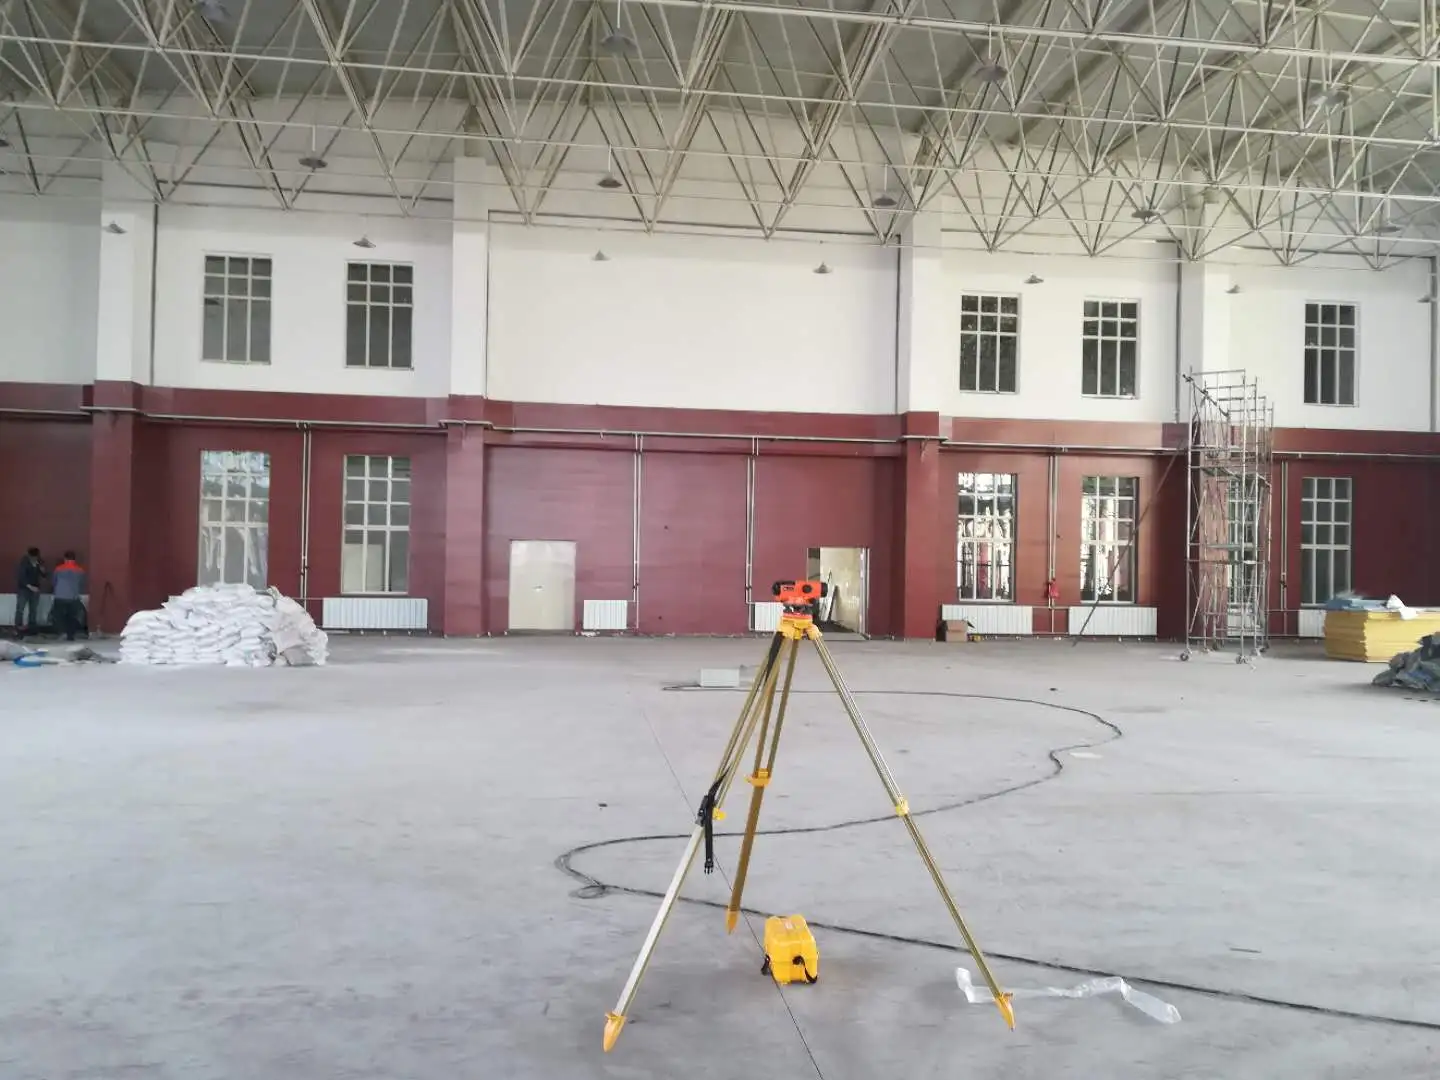
Essential Preparation for Sports Flooring Installation: Key Steps from Our Customers' Feedback
The quality and longevity of your sports flooring are heavily influenced by the preparation before installation. At Mindoo, we’ve been in the business of producing and installing hardwood sports flooring for years, and we’ve learned that thorough preparation is key to a successful installation. Our customers often share valuable feedback on what works and what doesn’t, so we’ve compiled a detailed guide on the essential steps you should take before the installers arrive.
Step 1: Surface Inspection – Ensuring a Level and Stable Base
The first thing to consider when preparing your space for sports flooring installation is the condition of your existing floor. A level and stable subfloor is crucial for the long-term performance of the hardwood. Here’s how you can check the surface before installation:

- Floor Leveling: Use a long, straight edge or a carpenter’s level to check the flatness of the surface. A slight deviation can lead to uneven floors, which can affect both the aesthetics and performance of the flooring. If you detect any bumps or dips greater than 3mm, it’s important to level the floor before installation.
- Humidity Measurement: The moisture level in the subfloor is also critical. Too much moisture can cause your wooden flooring to warp or buckle over time. Use a moisture meter to check the moisture content of your subfloor (ideally, it should be between 6-12%). For concrete subfloors, it’s also essential to check the vapor barrier.
Step 2: Installing in the Right Conditions – Choosing the Optimal Time
The right environmental conditions are just as important as the quality of the materials used. Factors such as temperature and humidity can impact the success of the installation.
- Temperature: The room temperature should be between 60°F (15°C) and 80°F (27°C) during the installation. Extreme temperatures can cause the wood to expand or contract, leading to issues later.
- Humidity Control: The relative humidity in the installation space should be between 35% and 55%. Too much humidity can cause wood to swell, while too little can lead to shrinkage.
Step 3: Pre-Installation Checklist
Before the installers arrive, ensure that all the following preparations are completed:

- Clear the Room: Remove any furniture, rugs, or other obstructions from the space.
- Check for Proper Ventilation: Ensure that the room has adequate airflow to prevent moisture buildup. Open windows or use fans to create circulation, especially in high-humidity areas.
- Check for Final Measurements: Ensure that the floor measurements align with your order to avoid discrepancies.
- Prepare Tools: Have all the necessary tools ready, including a hammer, tapping block, spacers, and a saw. This will help streamline the installation process.
Step 4: Addressing Less Common but Critical Considerations
Sometimes, the most overlooked details can be the most critical. For example, if you live in a humid area, make sure that your subfloor is treated with a moisture barrier before installation. Additionally, ensure that air conditioning or heating systems are functioning correctly and have been running for at least 48 hours prior to installation to stabilize the indoor environment.
Finally, keep in mind that hardwood floors need time to acclimate to the environment. It's recommended to store the flooring in the room where it will be installed for 48-72 hours before the installation begins, allowing the wood to adjust to the temperature and humidity of the space.
By following this checklist and preparing your environment correctly, you are ensuring that your sports flooring installation will proceed smoothly and that your floors will last for years to come. At [Your Company Name], we pride ourselves on our professional guidance and commitment to quality, ensuring that each step of the process is done right, every time.